


To install PCC for SharePoint Integration on your SharePoint 2010 farm, installation will need to be performed on a SharePoint web front end or application server. Log on to the SharePoint server of your choice and perform the following steps:
- Download the PCCForSharePoint.zip file from Accusoft.com.
- Save the PCCForSharePoint.zip file to your desktop and extract the zip file.
- Run setup.exe. The Accusoft Prizm Content Connect for SharePoint wizard displays:
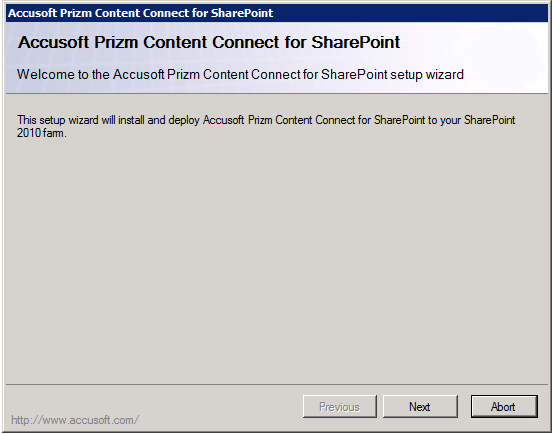
- Click Next. The System Check window displays:
If all the prerequisites are fulfilled and the System Check window displays all green checkmarks, go to Step 6 below.
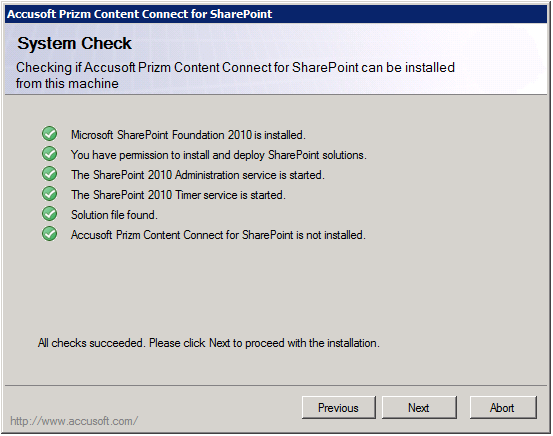
- If there is a red "X" next to any of the line items, then you will need to take the appropriate action to remedy the issue and restart the installation.
What to do if there is a red "X" next to line items in the System Check window
The System Check window may display a red "X" next to items that must be resolved before continuing the installation. The following example shows the SharePoint 2010 Administration service is not started and must be started before continuing with the installation:
Possible errors that must be resolved:
Microsoft SharePoint Foundation 2010 is not installed:
- You need to install Microsoft SharePoint Foundation 2010 or Microsoft SharePoint Server 2010 before beginning this installation.
- Ensure that you are running this installation of the correct server.
- Go back to Steps 3-4 above.
You do not have permission to install and deploy SharePoint solutions:
- Go back to Step 3 above and ensure that you run Setup.exe as a user with permission to install and deploy SharePoint solutions.
The SharePoint 2010 Administration service is NOT started!
- Go to the Start menu, Administrative Tools and select Services.
- Right-click on SharePoint 2010 Administration and select Start.
- Once SharePoint Administration is running, click Close.
- Go back to Steps 3-4 above.
The SharePoint 2010 Timer service is NOT started!
- Go to the Start menu, Administrative Tools and select Services.
- Right-click on SharePoint 2010 Timer and select Start.
- Once SharePoint Timer is running, click Close.
- Go back to Steps 3-4 above.
Solution file NOT found:
- Ensure you have extracted all contents of PCCForSharePoint.zip and that you have run Setup.exe from the extracted folder rather than running Setup.exe from the zip folder.
- Go back to Step 2 above.


- Click Next and the Farm Deployment Targets window displays:
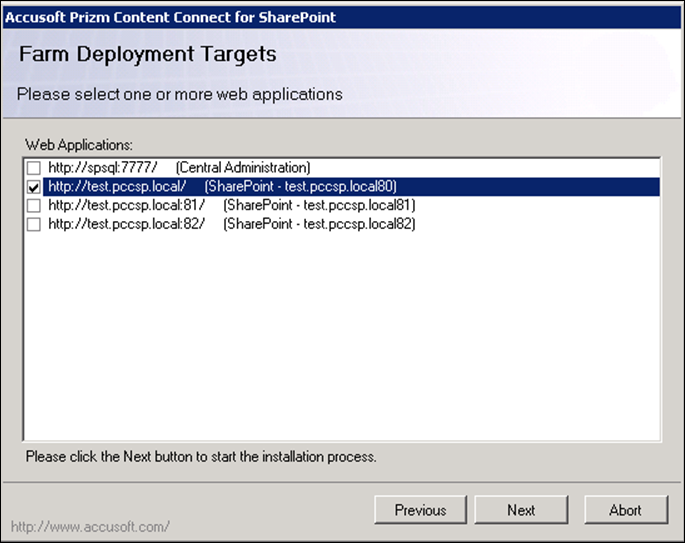
- Select the Web Applications you want to deploy PCC for SharePoint and click Next.
Only select the Web Applications where you want to use Prizm Digital Rights Management (DRM); you must select at least one Web Application. You may enable or disable Prizm DRM for any Web Application after you complete this install process. The Installing window displays:

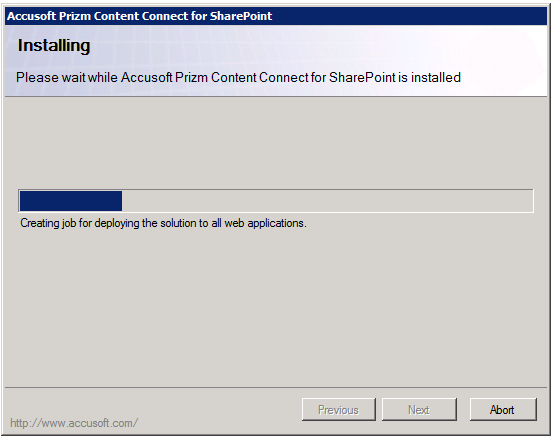
- Once the installation is complete, click Next. The Installation Successfully Completed window displays:
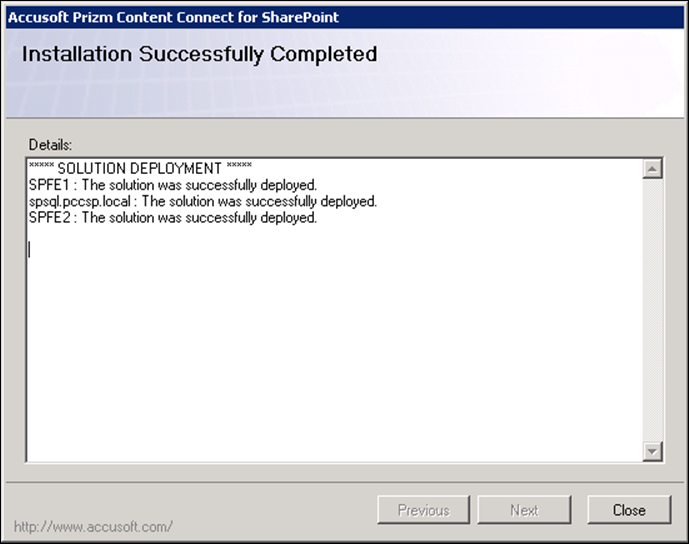
- PCC for SharePoint is successfully installed. Click Close to exit the wizard.
- Activate the Prizm Configuration Tools for a site collection within a targeted Web Application:
- Open the root web of the SharePoint Site Collection in your web browser.
- Login in as the Site Collection Administrator.
- Go to Site Actions and select Site Settings.
- Select Site Collection Features located under the Site Collection Administration section.
- Click Activate for the Prizm Configuration Tools feature.
- You have successfully completed the initial installation process.
- Perform the one-time only configuration steps for Installing PCC for SharePoint, for Multi-Servers.